Our email system at carnegienet.net is being retired on May 1, 2026. To help you migrate your messages to another platform, we have developed this easy guide to help you. We also can assist with moving the messages in your old mailbox to Gmail.
Please note that we do not offer migration assistance to any other platform besides Gmail.
Set up a new Gmail account
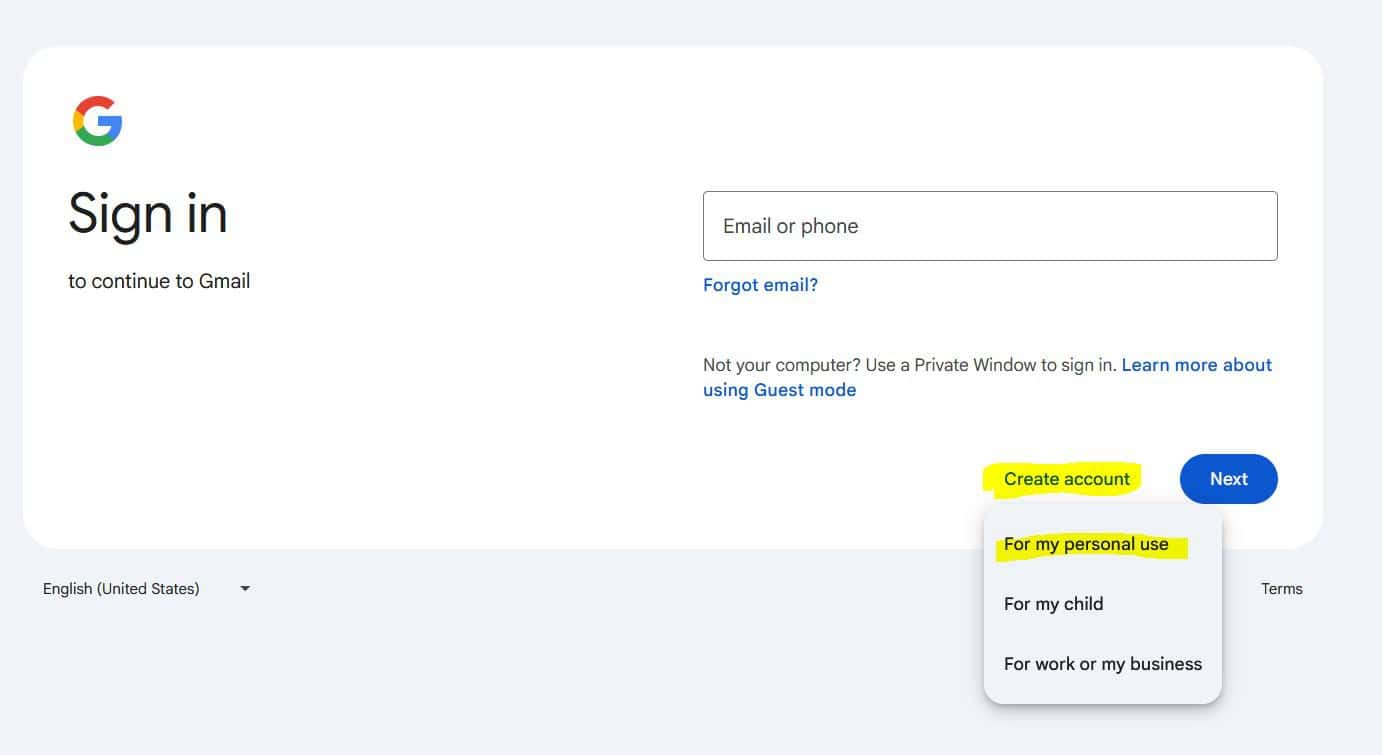
This step is best done on a computer, but you can use a phone as well. Go to https://gmail.com and select the “Create Account” button on the screen. Select “For my personal use” in the popup that appears.
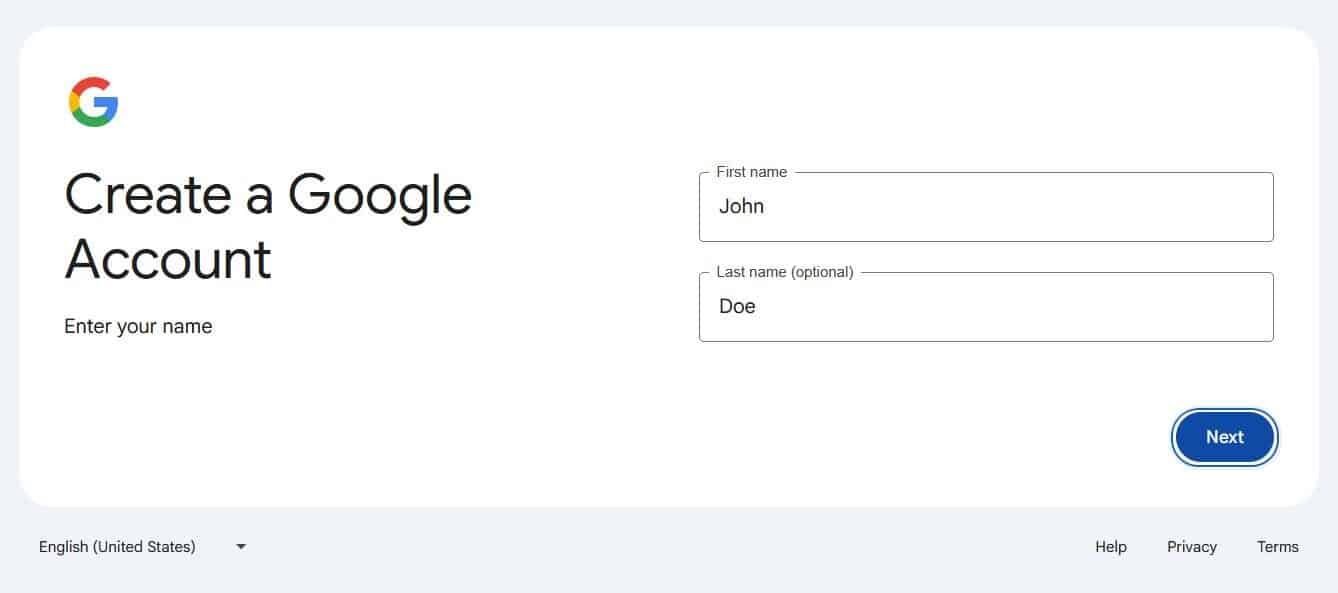
In the next screen, enter your first and last name:
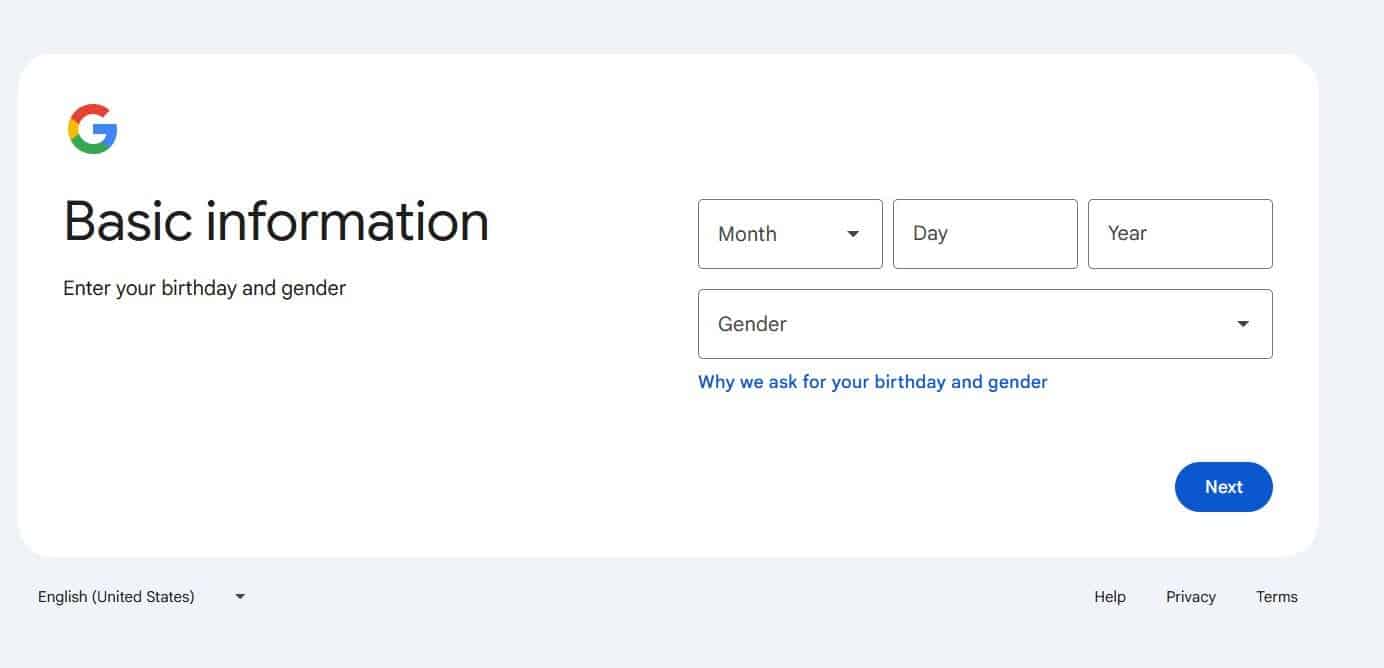
Enter your birthday and gender in the next screen
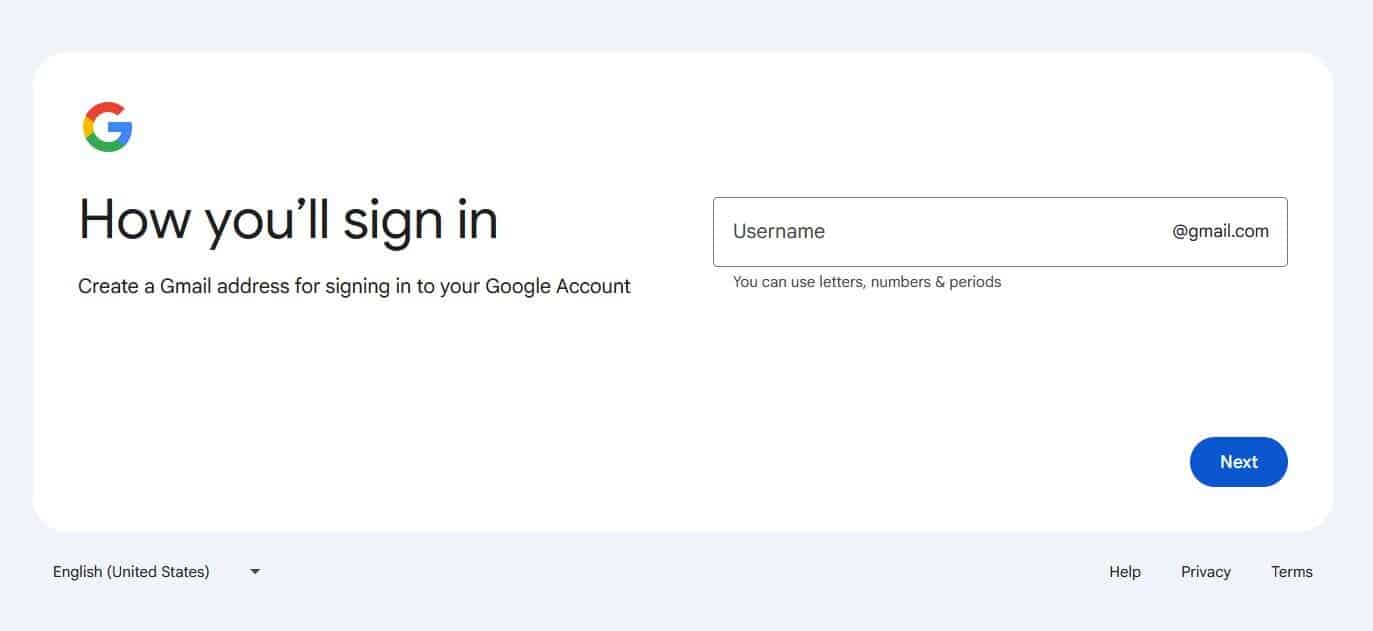
Next, pick your username. It should be memorable, and unique. If it’s already used by someone else on Google, you’ll need to pick another one.
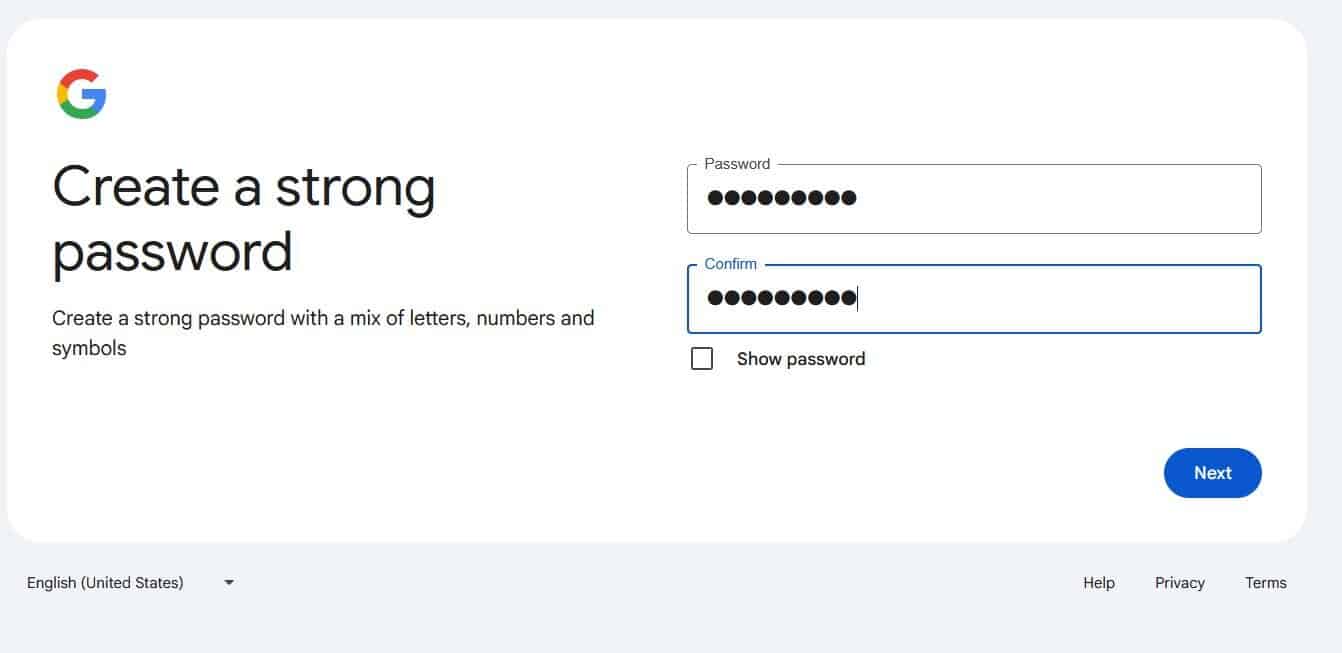
On the next screen, enter a strong password in both boxes. Be sure to type the same password carefully as they must match. Your password needs to be at least 10 digits long, with a mix of upper and lowercase characters, numbers, and symbols.
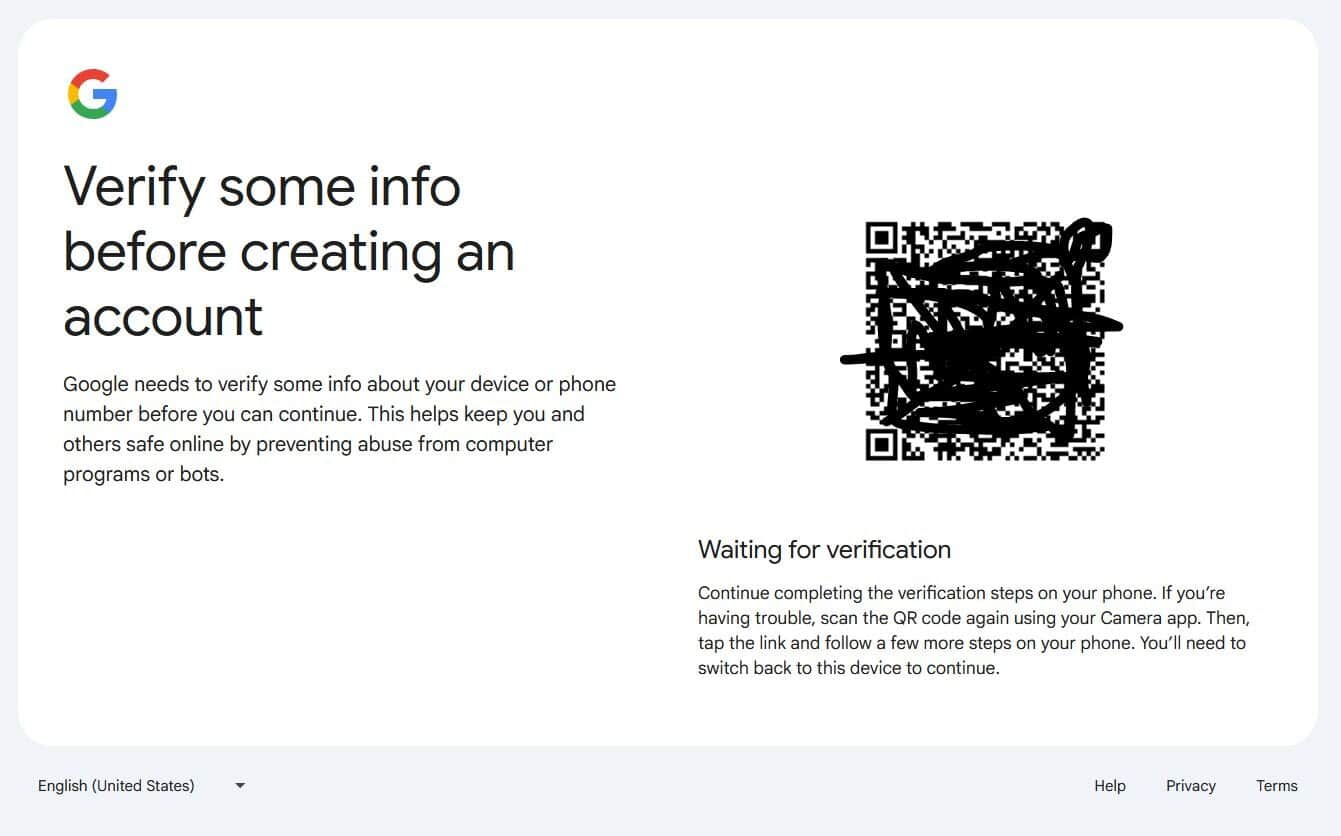
Occasionally, you will need to provide additional data for Google. You may need to scan your computer screen with your phone’s camera and complete some additional setup. Scan this code with your phone and proceed with the questions on your phone. This usually involves verifying your cell phone number, which is needed later anyway.
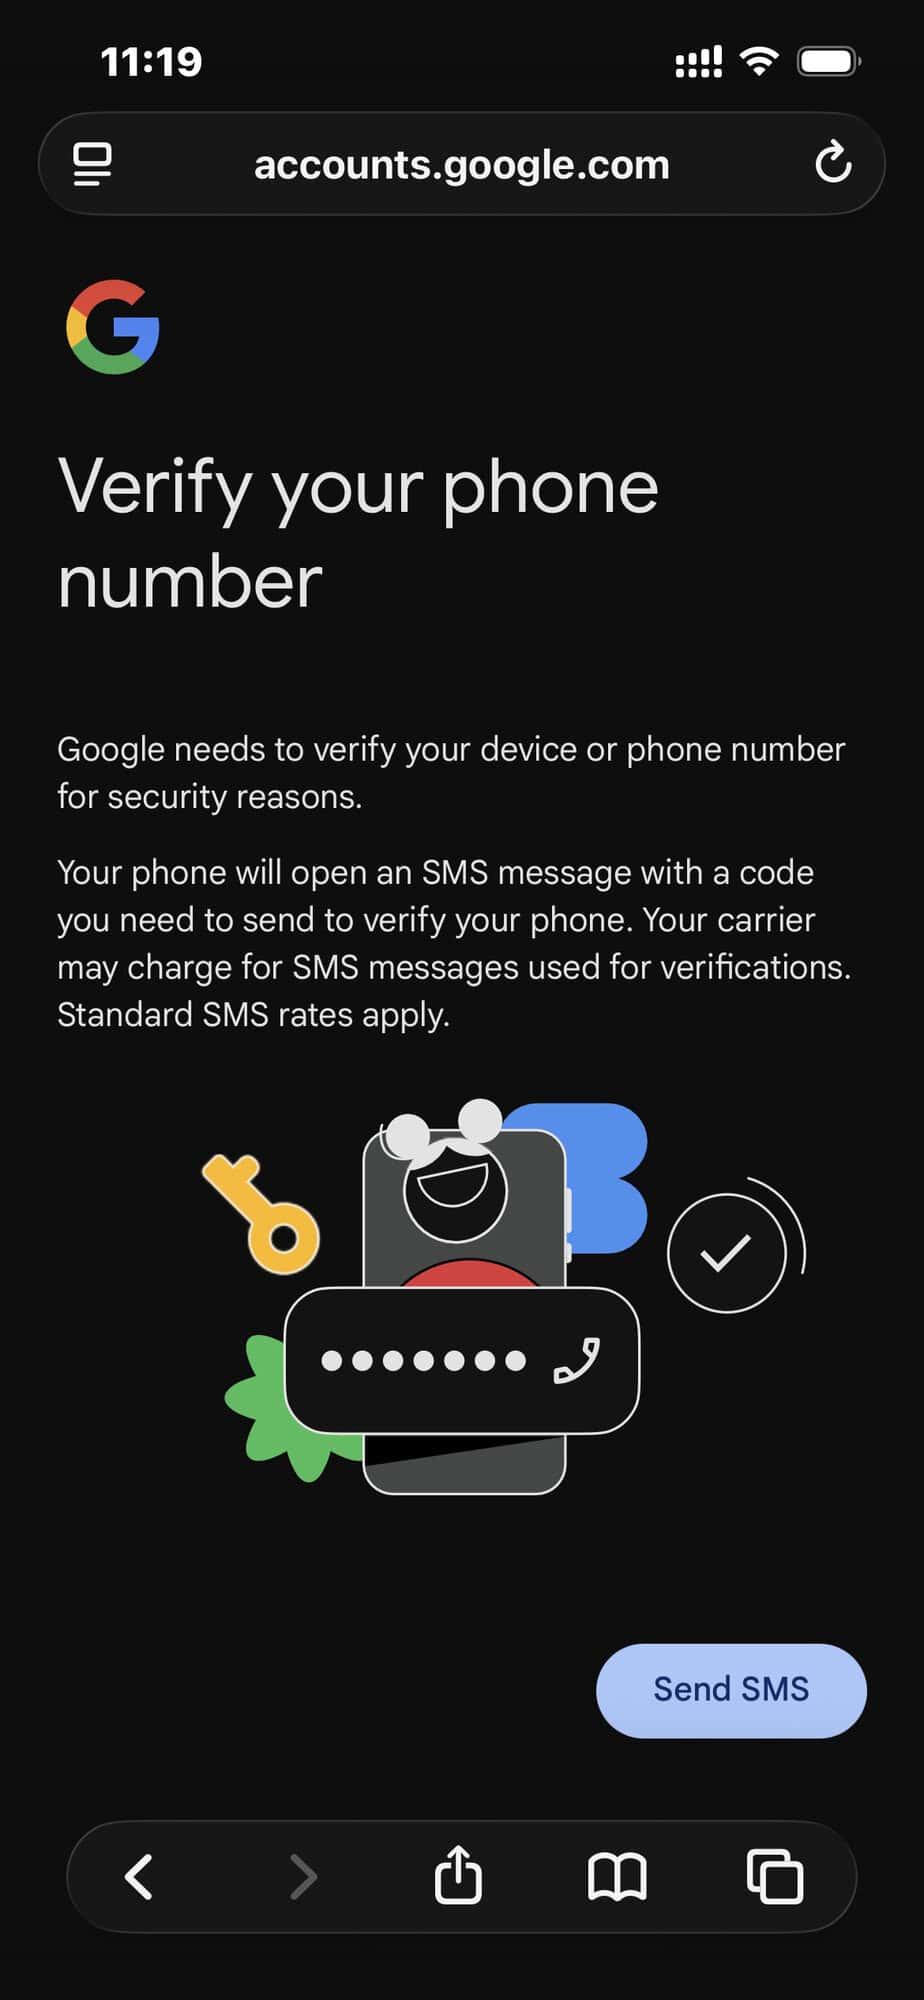
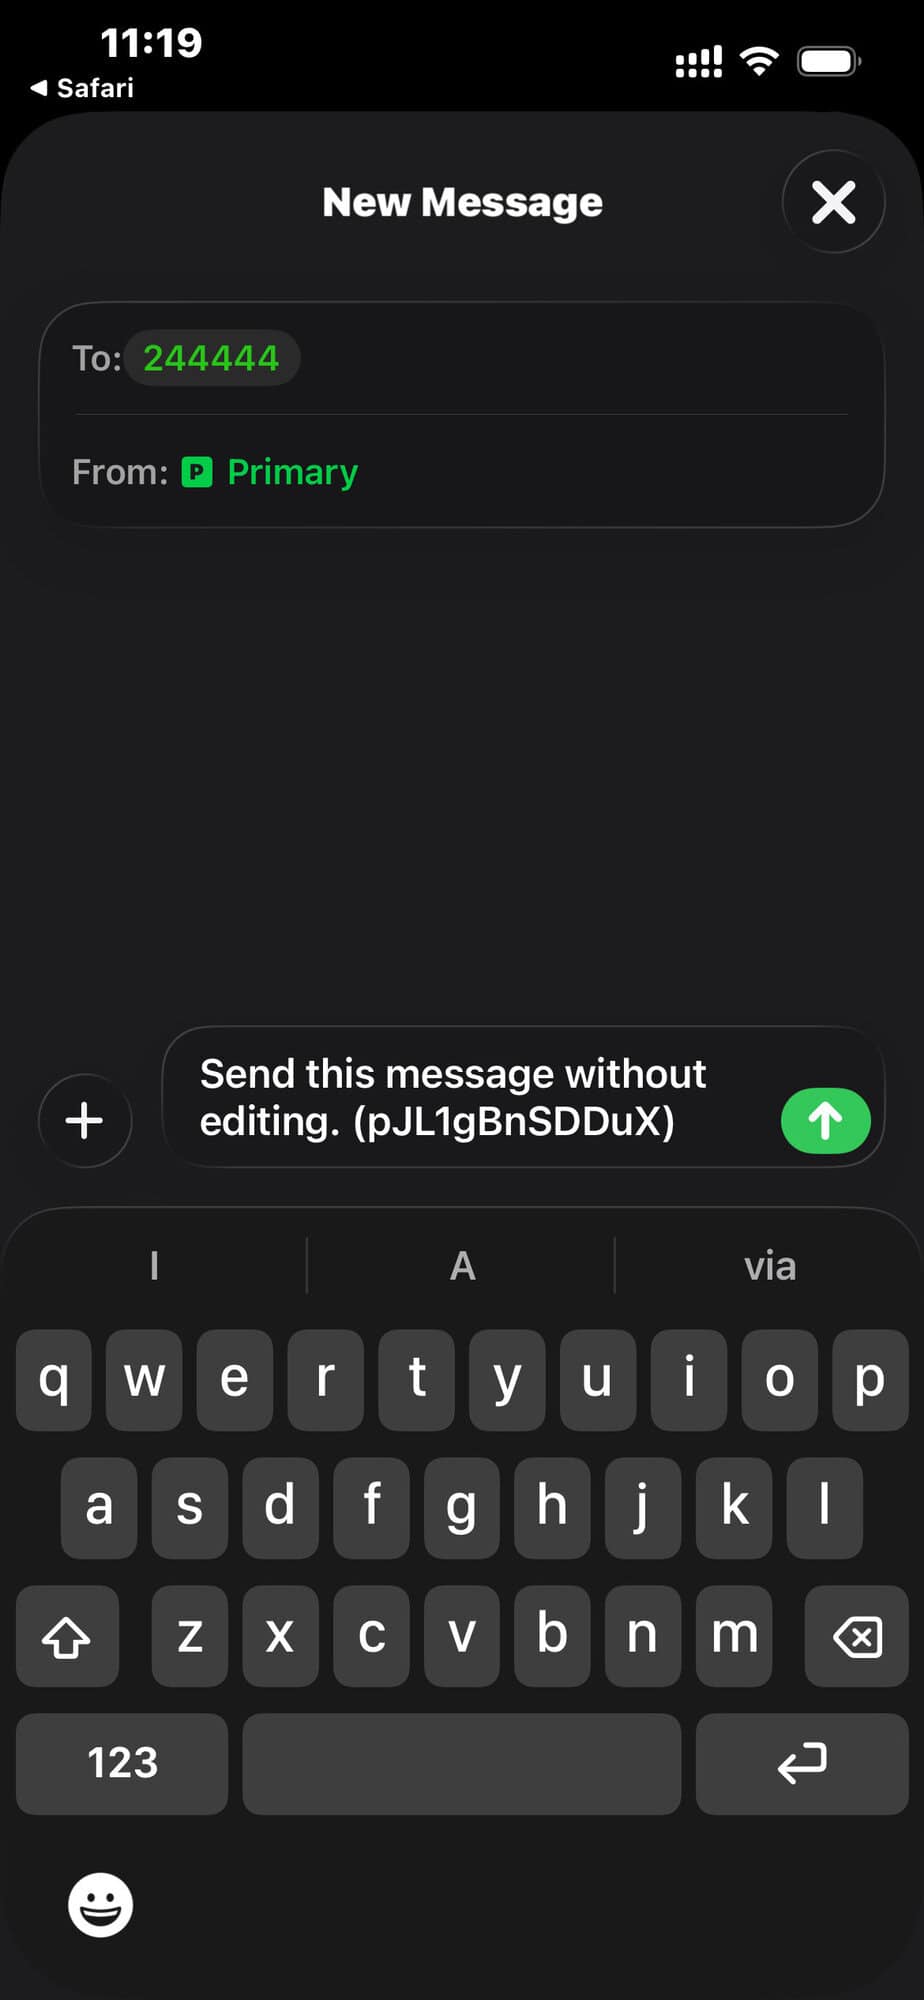
From your phone, it will want to send a Text Message to Google on your behalf to establish your identity. Just complete the message sending as shown below. This is from an iPhone example:
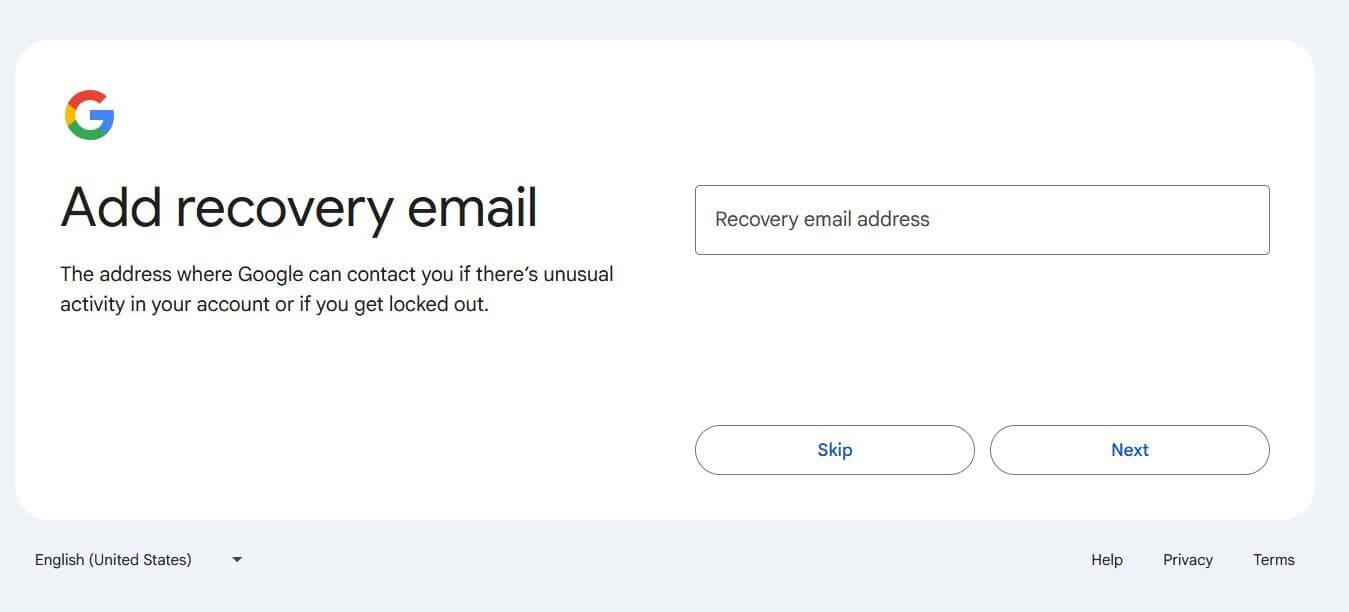
Next, Google will ask you to add a recovery email. If you have an additional email (other than your carnegienet.net address), you can put it here. Otherwise, just select skip.
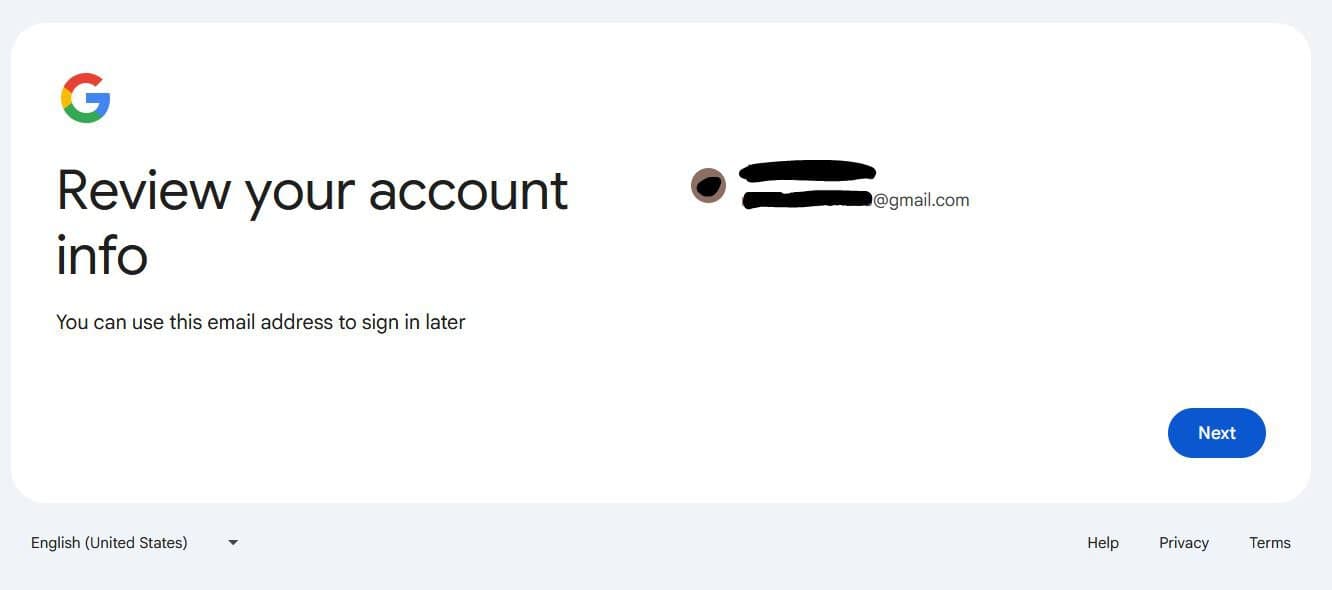
You’re almost done! Now, Gmail will show your email address for your review. Select Next.
Next, review Google’s privacy policy. Scroll down to the very bottom and select I Agree.
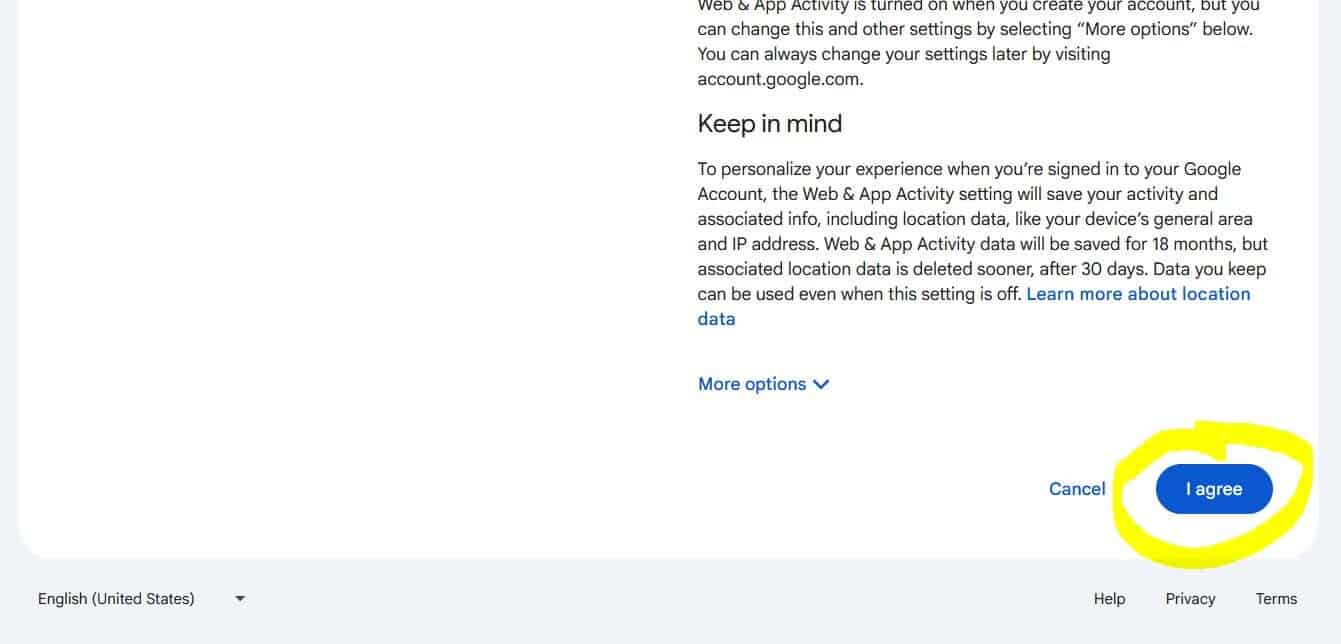
If another menu pops up, select CONFIRM.
Congratulations! You now have a Gmail address!
Enable 2-Factor Authentication
You likely entered your phone number in an earlier step. Next, we need to make sure 2-Factor Authentication is enabled on your account before we can move to the next step.
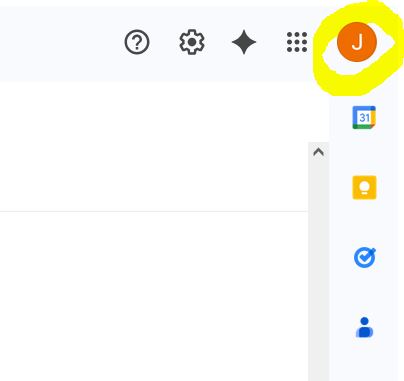
Click the icon in the upper right corner of your Gmail screen. It usually contains the first letter of your username, in this case, “J”.
From there, select “Manage Your Google Account”
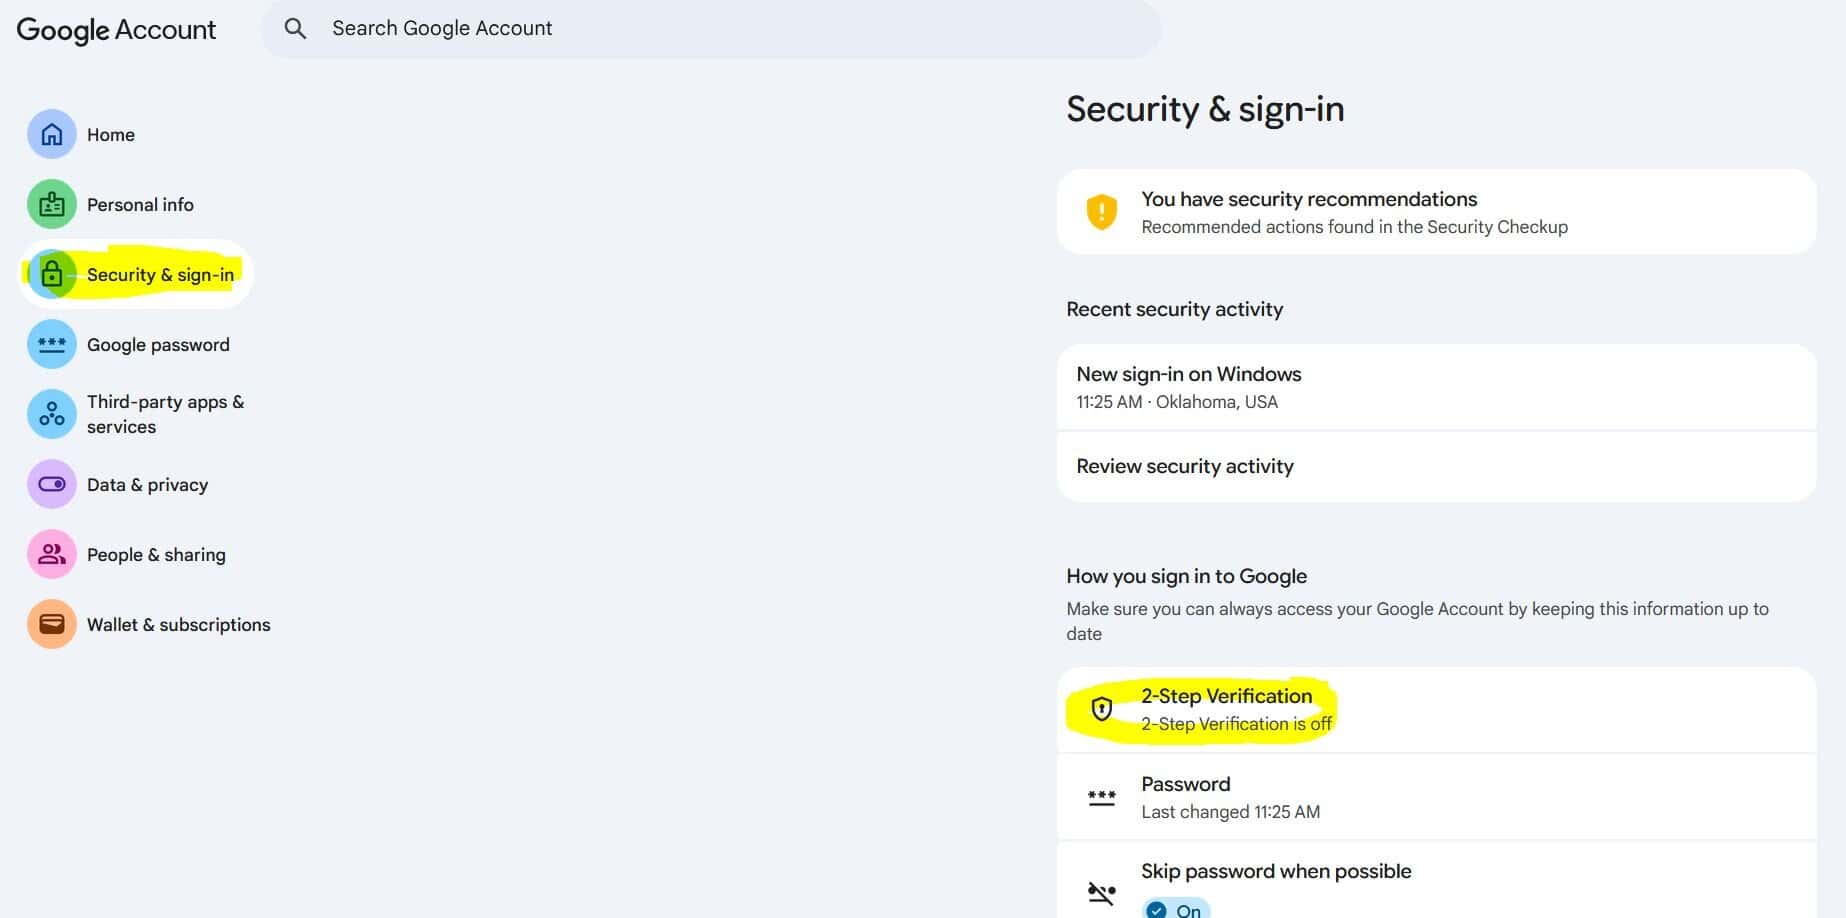
On the left, select “Security and Sign-In”. Then select 2-Step Verification.
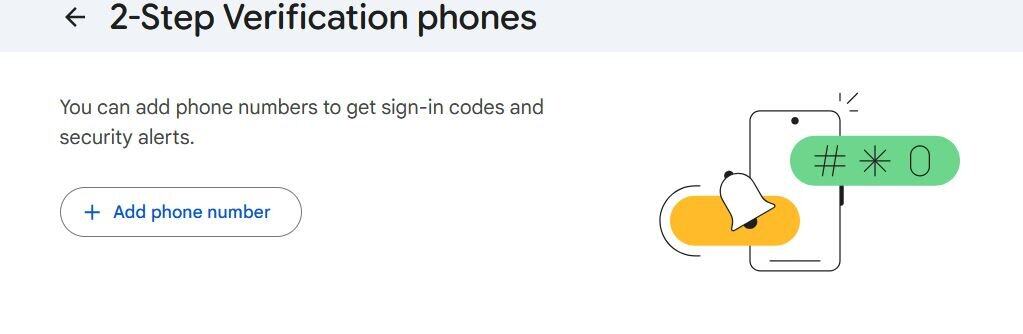
Select the bottom option, Add a Phone Number.
Type in your mobile/cell phone number and select whether you want to get codes via text or phone call. Text is usually easier.
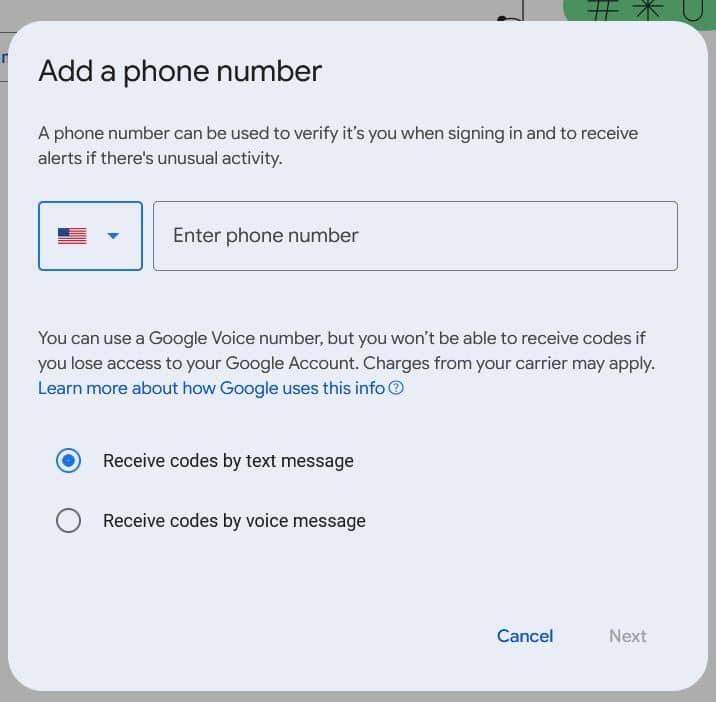
Now select Next at the bottom. It will ask you to confirm, and select Save. You may then be re-prompted for your password, if not, then you are complete with this step.
Finally, go back to your Google Account and select Turn On 2-Step Verification.
Enable an “App Password” on your Google Account
This is what allows us to migrate your old messages for you. Be sure to follow the instructions carefully.
Go to https://myaccount.google.com/apppasswords
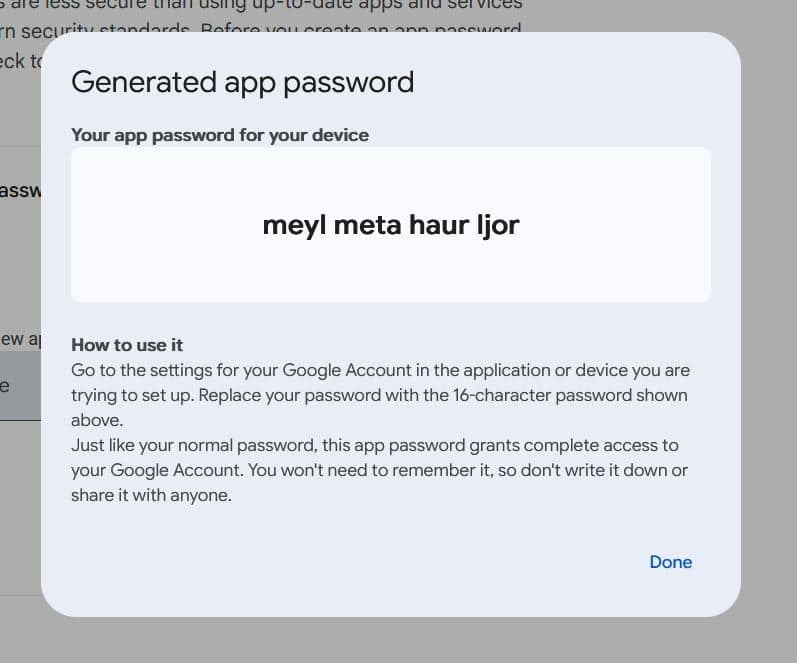
In the box where it says App Name, type in something memorable, like “old email”, then select Create.
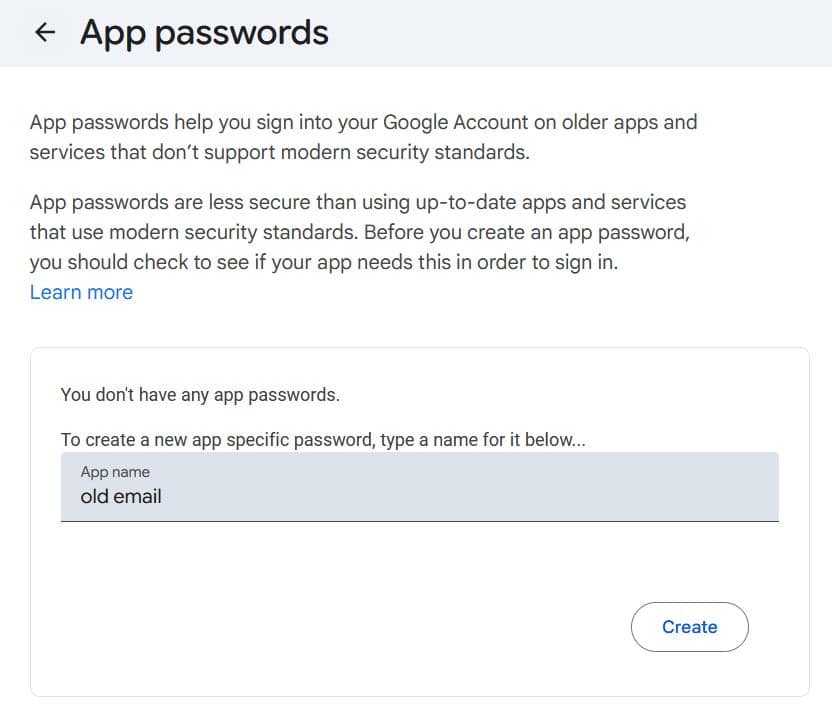
A screen will pop up with your Generated App Password. It will appear similar to what is depicted below. Make a note of this password exactly, as you cannot view it again. You will need this password in the following step. You can then select done.
Migration Form
Fill out the following form to authorize us to migrate your messages for you.